


 02.08
02.08
 zul
zul

Multida-Cara Membuat Percikkan Cat pada Wajah.
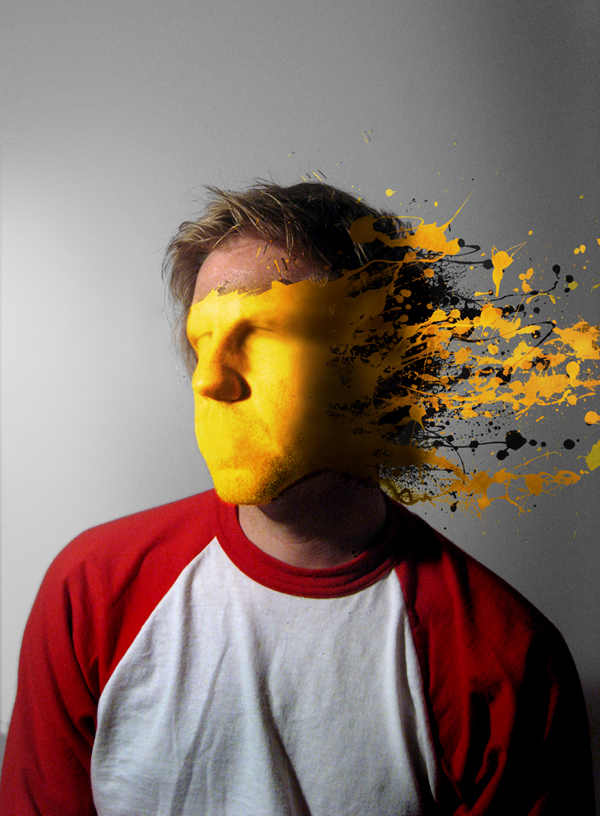
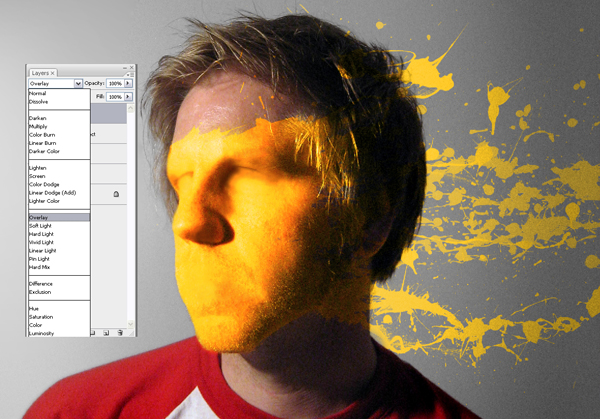
Final Image Preview
Step 1
Copy the background and paste it onto a new layer. Rename the new layer Subject and turn the background layer to white.
Create a new layer labeled “Extra Skin.” Then using the Clone Tool, Alt-click on other parts of the face that best match the color of skin you want to copy. I suggest using a soft brush to blur out the edges.
For this I usually just play around with the Cloning Tool until I get close to something that looks right. This may take some experimentation, as you have to pay close attention to the light source in the photograph.

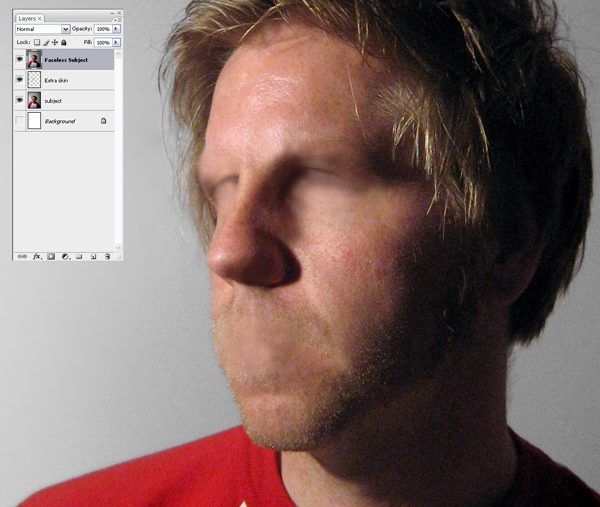
Step 2
Once we have covered all the facial features, select the “Extra Skin” layer and the "Subject" layer, then press Command + Alt + E on to merge the layers into a new layer. Rename this layer “Faceless Subject.”
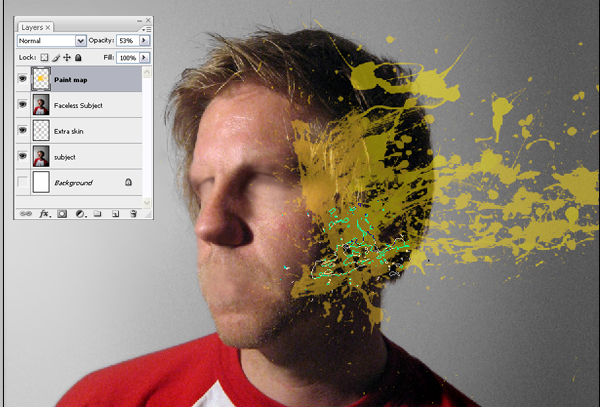
Step 3
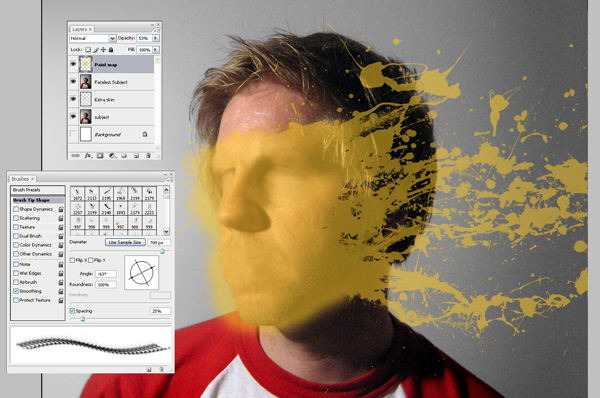
Now we can start building our paint splatter area. Create a new layer and call it “Paint map.” Select the Brush Tool and start to paint out the area you want the paint splat to appear in. This is where your paint splatter/spray brushes will come in handy.
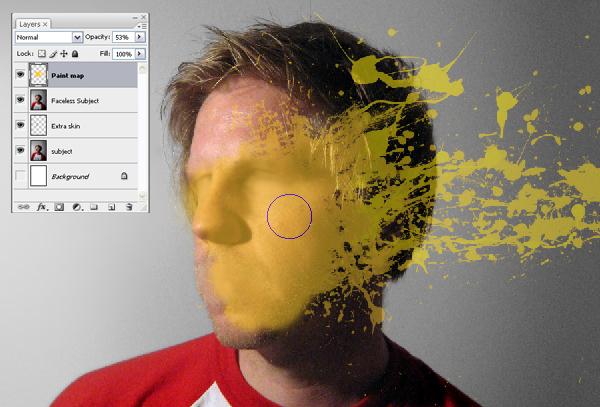
It doesn’t matter what color you use; here I have chosen yellow (#ffc924). It also helps to lower the opacity of this layer so that you can better line up the splats over the subject’s face.
Make sure that you only paint where you want the splatter to occur, you may have to paint/mask/erase a bunch to get a nice paint splatter. Take your time with this Step; it may be the most important one of the process.
Step 4
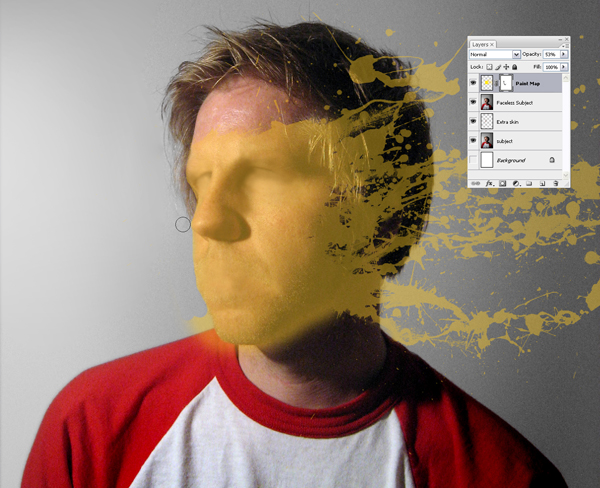
Once completed you will want to get rid of any layer masks by right-clicking on the “Paint map” layer and selecting Convert To Smart Object. After that, change the layer style of the “Paint Map” layer to Overlay. You should now have something that looks similar to the picture below; keep in mind that no two paint splatters will be exactly the same.
Step 5
Next create a new layer under the “Paint map” layer, and name this layer “Extra Skin 2.” With this layer selected Command-click the "Paint map" layer to select the paint splat you have created. Next click on the Add Layer Mask button at the bottom of the layers palette.

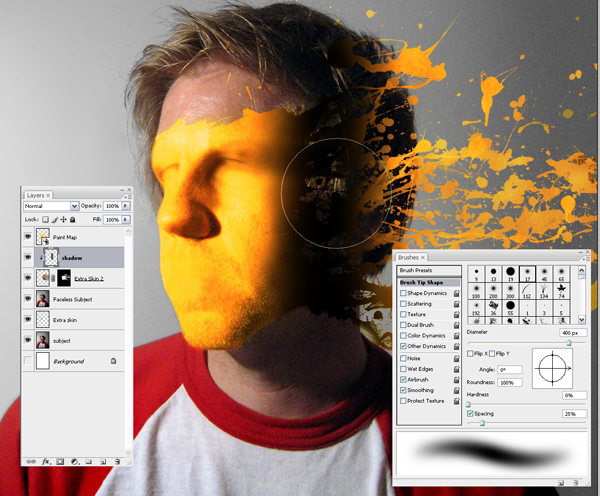
Step 6
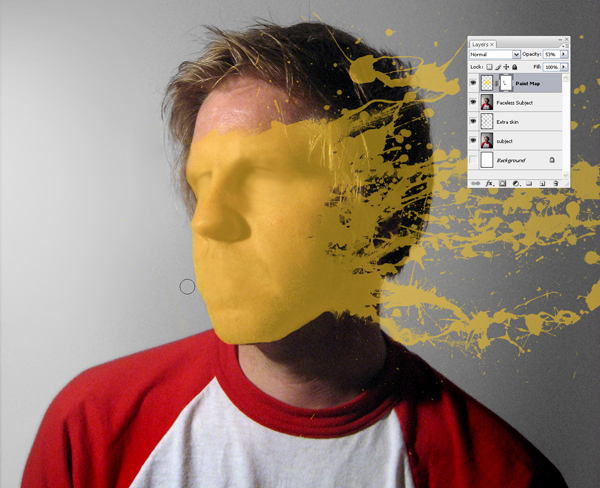
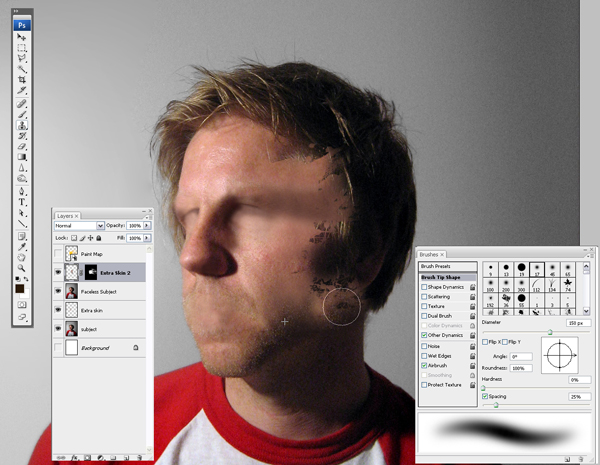
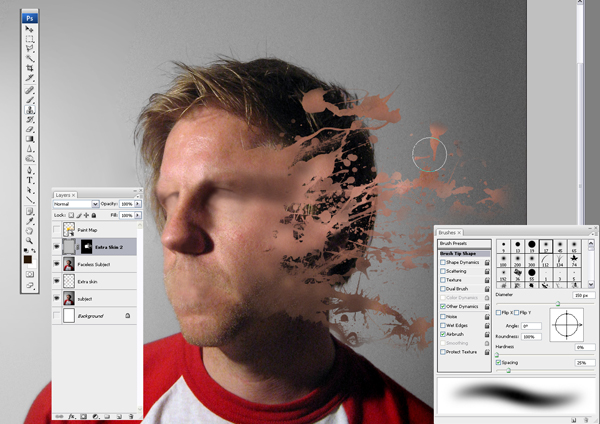
Turn the visibility of the “Paint map” layer off. With the “Extra Skin 2″ layer selected, grab your Cloning Tool again and start copying portions of skin into the area that has no skin.
Again try to match the lighting of the photo; you are basically creating an extra skin layer that will become paint once colored. I find it helpful to turn off the Aligned option for the cloning tool in the top tool bar.
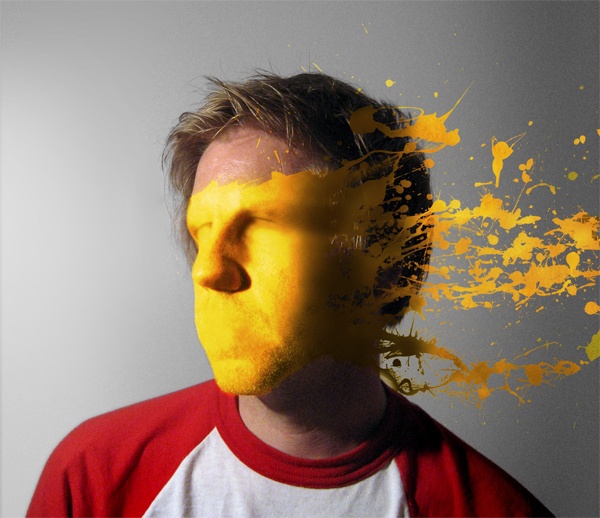
Step 7
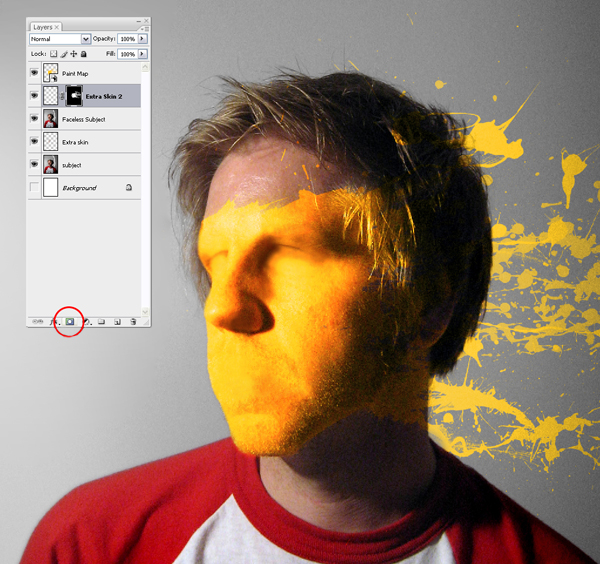
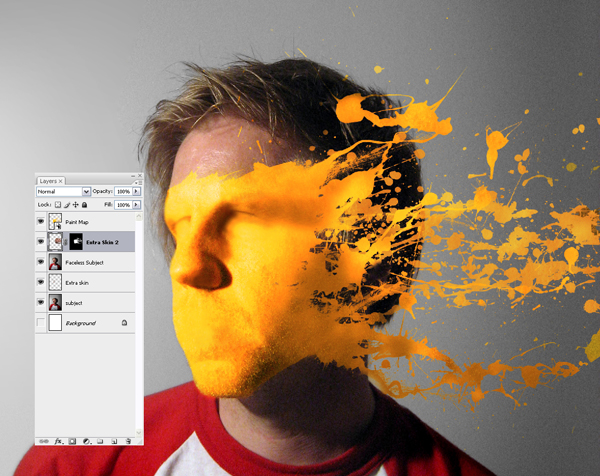
Once you’ve created a nice splatter area made from skin, turn the visibility of your “Paint map” layer back on. You should have something that looks like the image below.
Step 8
Create a new layer above the “Extra Skin 2″ layer and name it "shadow." While holding down the Alt key, click between the “Extra Skin 2″ layer and "shadow" layer to clip it.
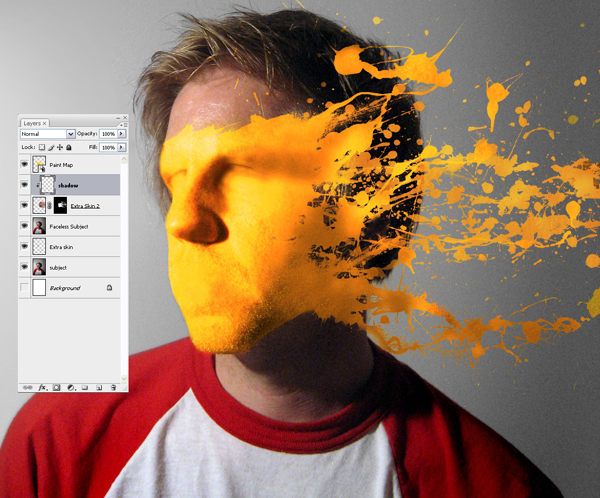
Step 9
Grab a big, soft brush and paint some black to amp up the shadows needed for the “Extra Skin” layer.
Step 10
Turn the opacity of the "shadow" layer down to around 75%.
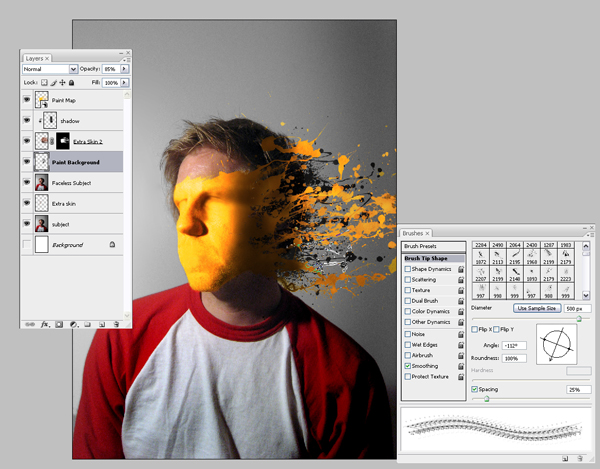
Step 11
Create a new layer above the “Faceless Subject” layer and name it “Paint Background.” With the foreground color set to black, start painting some paint splats with the splatter brushes.
Step 12
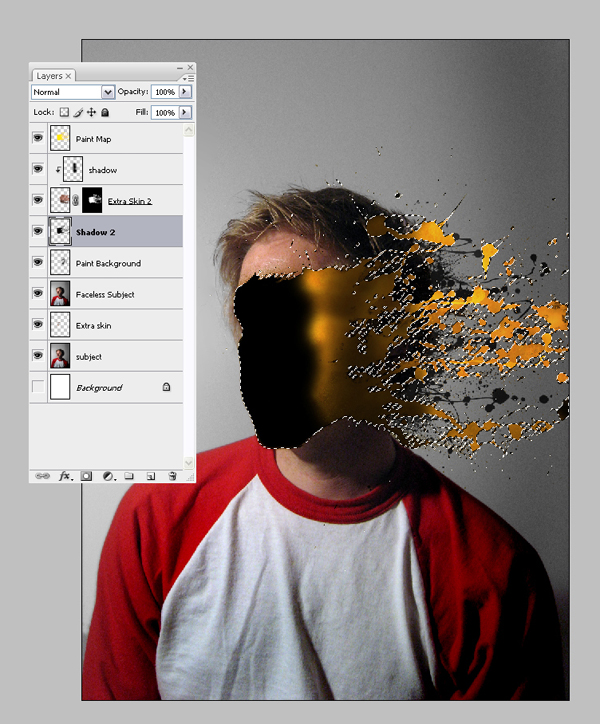
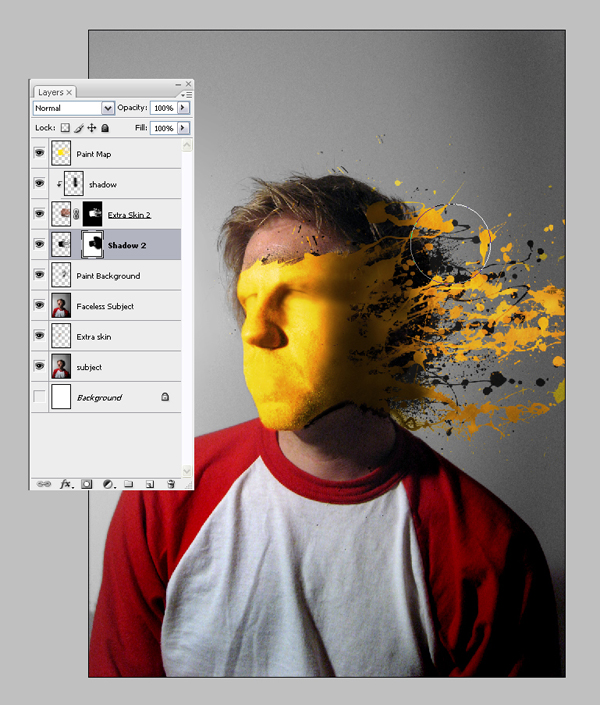
All we have to do now is add a little bit of shadow to create the illusion the paint is lifted off the face. First create a new layer and name it “Shadow 2,” then Command-click on the “Paint Map” layer to select it. Making sure you are still on the “Shadow 2″ layer, fill the selection with black.
Step 13
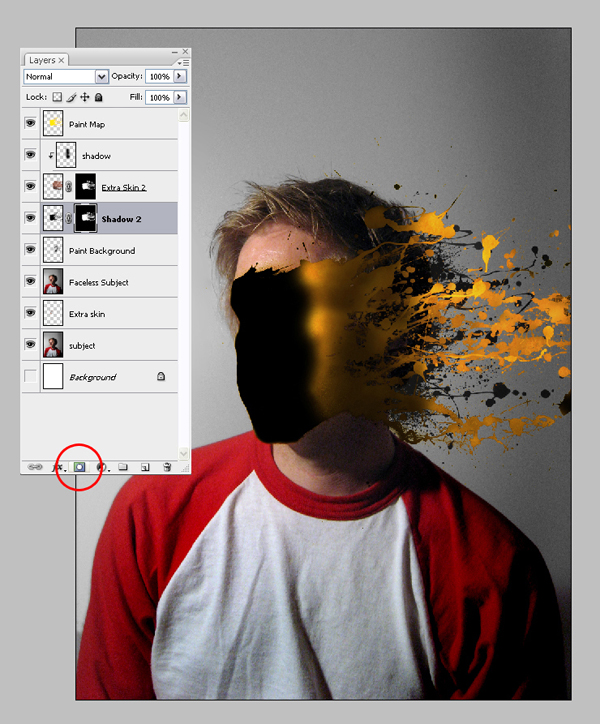
Making sure the selection is still active, click on the Create Layer Mask button on the the bottom of the layer’s palette.
Step 14
Select the mask for the "Shadow 2" layer and invert it by pressing Command + I, or going to Image > Adjustments > Invert. This should invert the mask and hide the black area we just filled.
Step 15
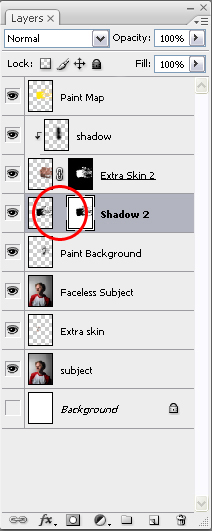
Disable the link between the mask and the shadow paint by clicking on the chain between the layer icon and the mask, as shown.
Step 16
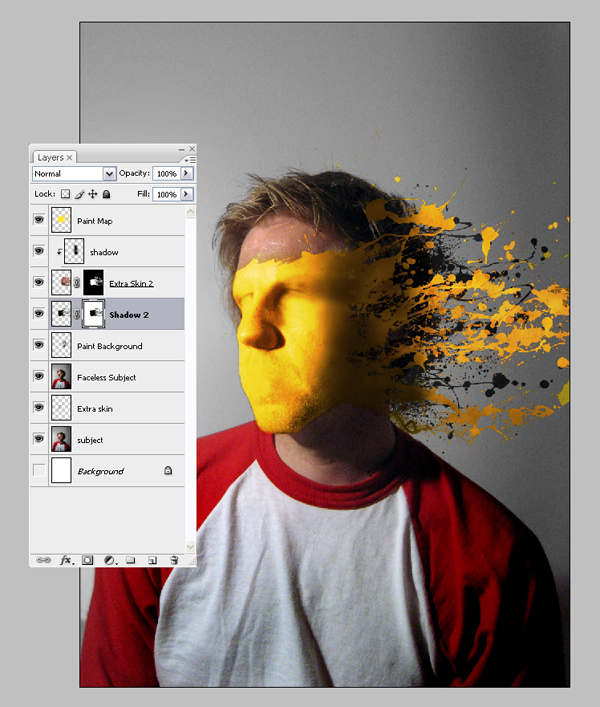
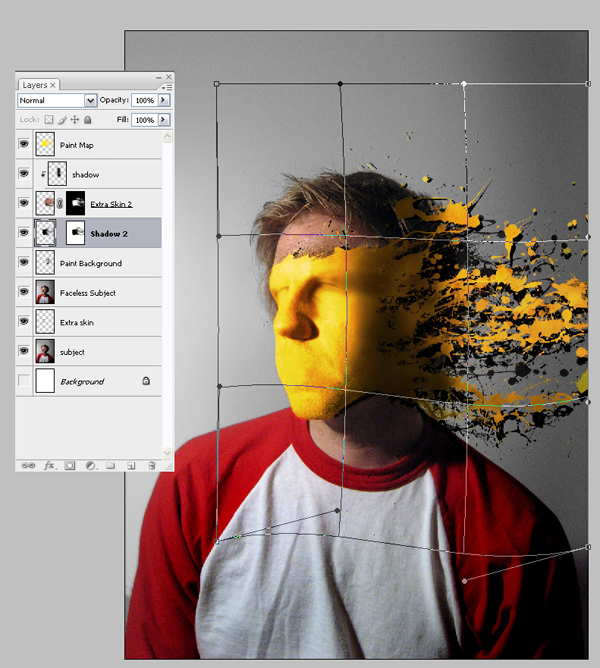
Make sure the paint portion of the “Shadow 2″ layer is selected and go to Edit > Transform > Warp.
Slightly adjust the shadow so that it peeks out from behind the paint splat. Depending on how much you want the paint to appear lifted, you can adjust it a lot or a little. Once you have the shadow right where you want it, apply the change.
Step 17
You are bound to have some unwanted shadow from the "Shadow 2" layer; to clean it up, simply paint over what you don’t want in the layer mask.
Step 18
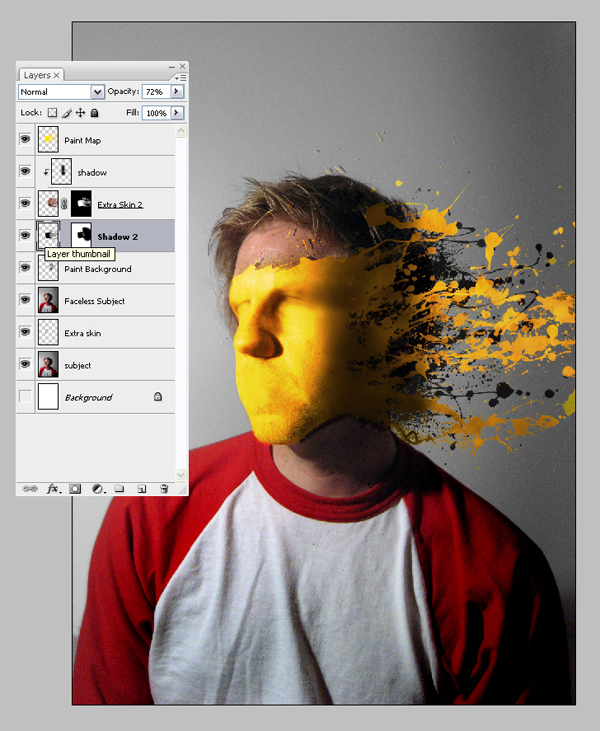
Lower the opacity of the shadow to around 72% and you should be all set!
Conclusion
The final image is below. Enjoy applying these techniques in your own work!
Terima Kasih Sudah Berkunjung :)Salam Multimedia :)
 Posted in: Tutorial Photoshop
0 komentar:
Posting Komentar